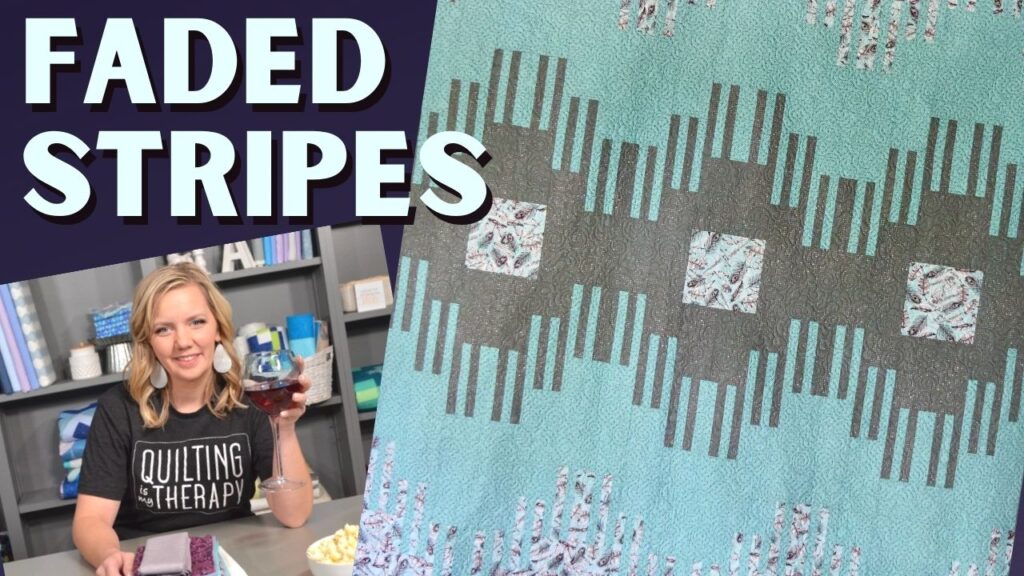
It’s been awhile, but I am finally excited to announce that there is a new episode of the Midnight Quilter!
In this episode, I use strip units to make Faded Stripes, a quilt that is much easier to piece than it looks. I especially love the way the fabrics almost “blend” together and show off the beautiful prints.
https://quiltingismytherapy.com/wp-content/uploads/2022/01/kit-products.jpg
Kit available in two different color options.
https://quiltingismytherapy.com/wp-content/uploads/2022/01/faded-stripes-thumbnail-1024×576.jpg
Click here to watch the video tutorial and to learn more about the quilt.
Four Tips for Perfectly Pieced Strip Units
I don’t know who originally came up with the idea of strip units, but I am sure we can all agree that person was a genius. Instead of cutting a lot of little pieces then sewing them back together, strip units are made from sewing longer strips together, then cutting them into smaller units. It’s not only quicker, but when done correctly it can result it better pieced block units.
Below are four practical tips for working with strip units.
- Correct Cutting is Key
While precise cutting is important when making a quilt of any type, it’s especially important with working with strip units. Ensuring that your strips are cut straight will make the piecing go quicker and easier.
If you fold the fabric before cutting it, check to make sure that top and bottom edges are parallel. This will help ensure strips that are straight from edge to edge. As I cut, I‘ll open a strip every so often to make sure that they are straight on the fold.
https://quiltingismytherapy.com/wp-content/uploads/2022/01/Tips-for-subcutting-stripes-1-1024×652.jpeg
I also love using the Stripology ruler by Creative Grids when cutting lots of strips. The grip holds the fabric in place and allows me to cut several strips before needing to reposition.
- Piece with a Consistent Seam Allowance
A correct seam allowance is an important step to creating your strip units, especially when piecing skinnier strips as in the Faded Stripes quilt. Any variation the seam allowance can make the larger strips uneven and difficult to cut. Using a 1/4” sewing foot or a seam guide will help keep your seams straight and also let you sew them together quicker.
The Sewing Edge Seam Guide is a great option. It easily sticks on my machine and is quick to remove once finished.
- Press, don’t Stretch
I don’t normally press the seams until the longer strip unit is finished, although you could definitely press them as you go. When pressing, be sure to use a hot iron and be careful not to stretch the fabric. I press all the seams open since it’s faster, but pressing them open is fine as well.
- Use the Ruler’s Reference Lines when Subcutting
After sewing the strips into one long strip unit, it’s time to subcut the strips into smaller rectangles. As you cut, check the horizontal reference lines to ensure that they run along the seams. If the strip unit has been pieced and pressed correctly, this step should be a snap.
Enjoy your beautiful strip units!
Once your strip units are cut, all that’s left to do is to sew them to other pieces of fabric to create a beautiful quilt top.
Your Turn!
What do you think? Do you have any other tips for working with strip units? Let me know by leaving them in the comments. Happy Quilting!